Understanding DocuClipper
DocuClipper is a cloud-based tool designed to help businesses extract and convert data from PDF documents like invoices and bank statements into various formats such as Excel, CSV, QBO (QuickBooks Online), Sage, Xero, QFX, and Quicken. Ideal for handling large volumes of invoices, receipts, and bank statements, DocuClipper improves workflow and enhances efficiency in data management.
To create an account follow the steps below:
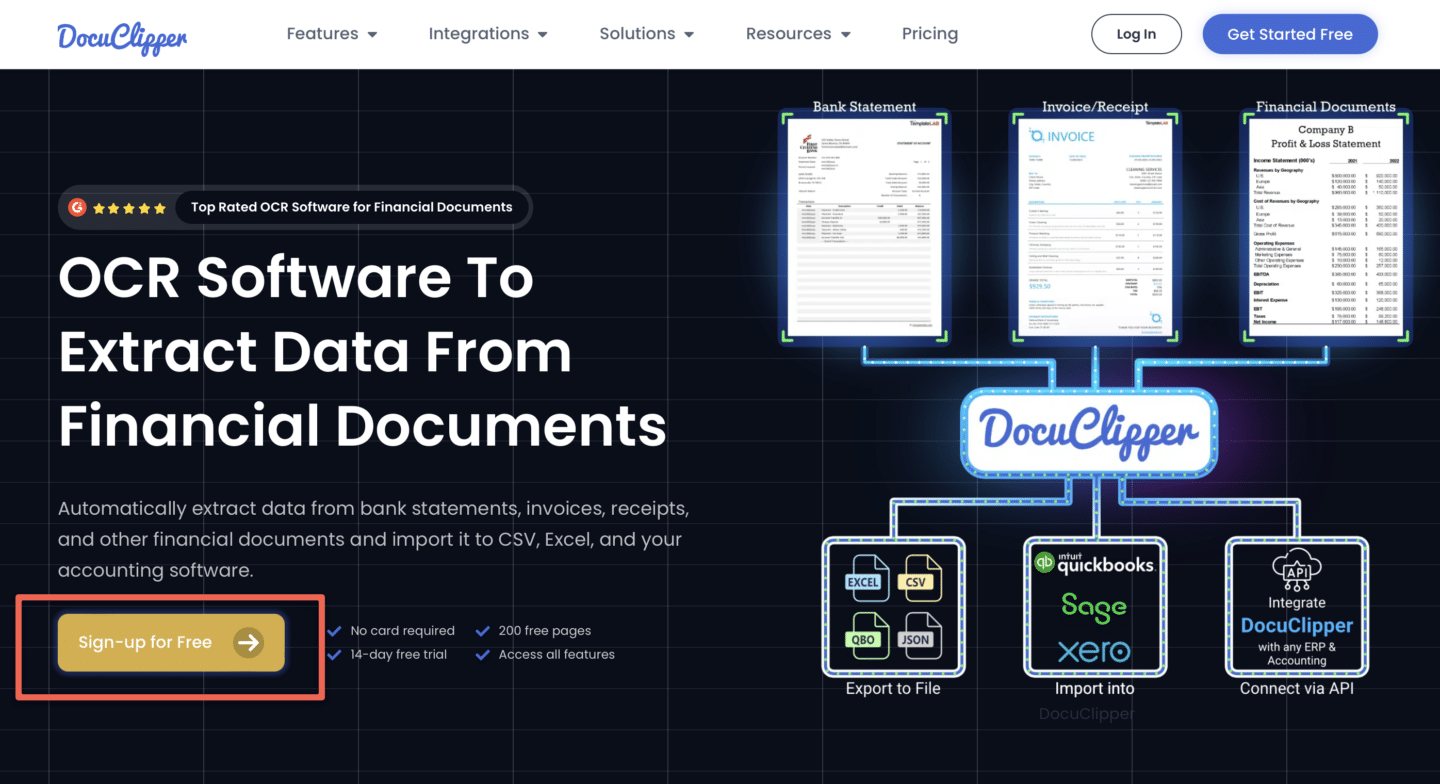
- Visit DocuClipper’s Website: Head to docuclipper.com in your browser.
- Click “Sign Up”: Find the “Sign Up for Free” found on the left side of the page.
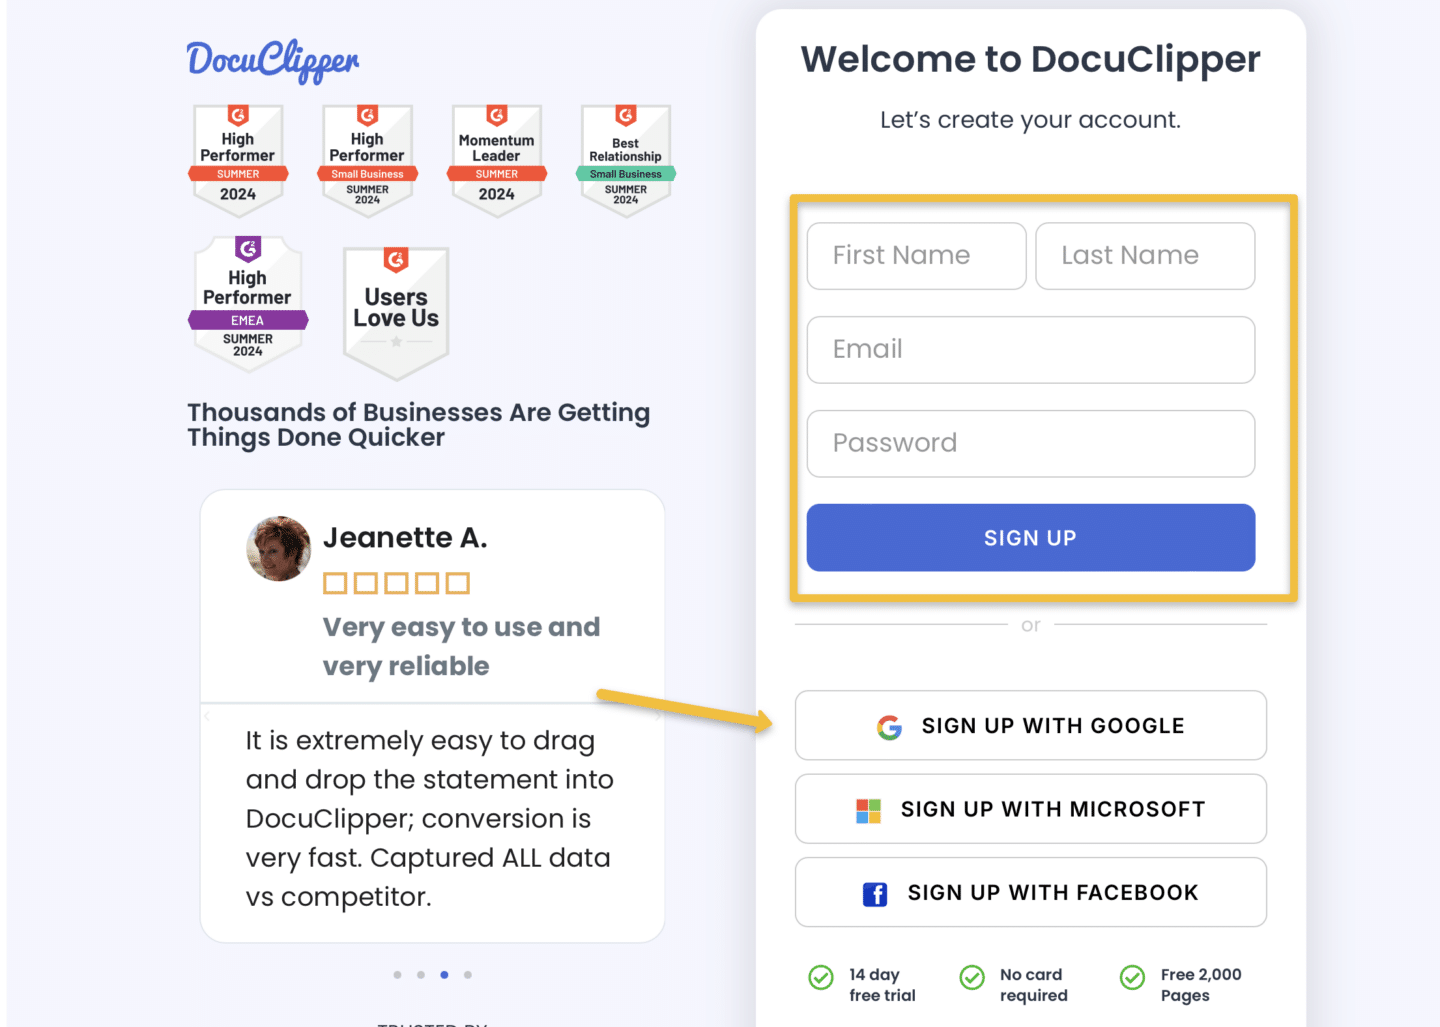
- Fill in Your Information: Enter your email, and name, and choose a password.
- Log In: Log in with your credentials and start using DocuClipper.
- Verify Your Email: Check your inbox for a verification email and click the link provided to verify your account.
Note: You may log in using your Facebook, Google and Microsoft Account.


Update Profile information
- Log In: Sign in to your DocuClipper account.
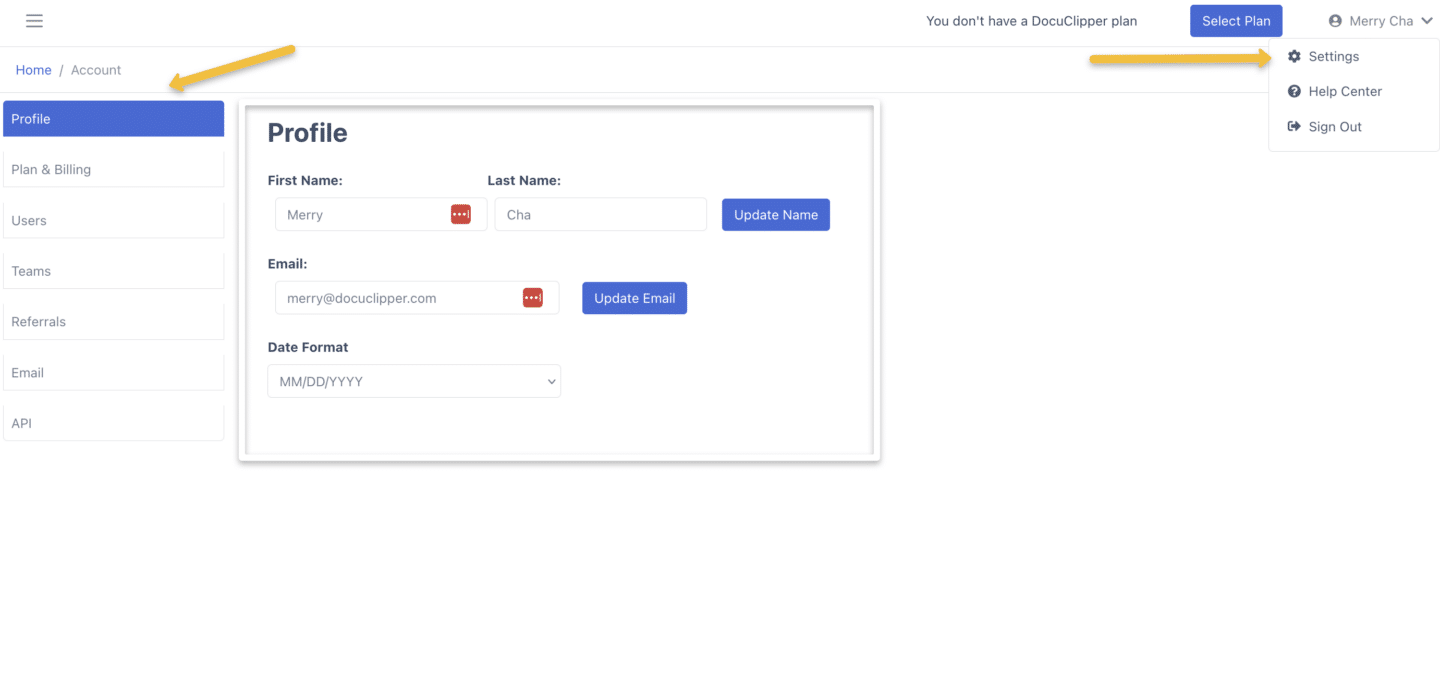
- Access Profile Settings: Click on your profile icon found in the top right corner of the dashboard and click Settings.
- Go to Profile and update your account information.
- Update the profile date format to match the date of your statements/invoice: If you have it as DD/MM then 01/02 means 2024-02-01. If you have it as MM/DD then 01/02 means 2024-01-02.

Signing up with DocuClipper is easy! If you encounter any issues, feel free to reach out to support at support@docuclipper.com.


