
Import Bank Statement Transactions into QuickBooks Online
Export a QBO (Web Connect) file from DocuClipper and import it into QuickBooks Online for review and categorization.
Last updated
To import a DocuClipper-converted bank statement into QuickBooks Online, download the statement as a QBO Web Connect file, then in QuickBooks Online open Banking → File Upload, pick the target account, and upload the .qbo file.
QuickBooks Online imports Web Connect files natively, with no CSV remapping or manual data entry. Imported transactions appear in the For Review tab, where you assign each one a Vendor and Category.
How do I import a DocuClipper bank statement into QuickBooks Online?
The flow is three steps: download a QBO Web Connect file, upload it in QuickBooks Online Banking, then review and categorize.
Step 1: Download the QBO Web Connect file
- Open the project containing your converted bank statement.
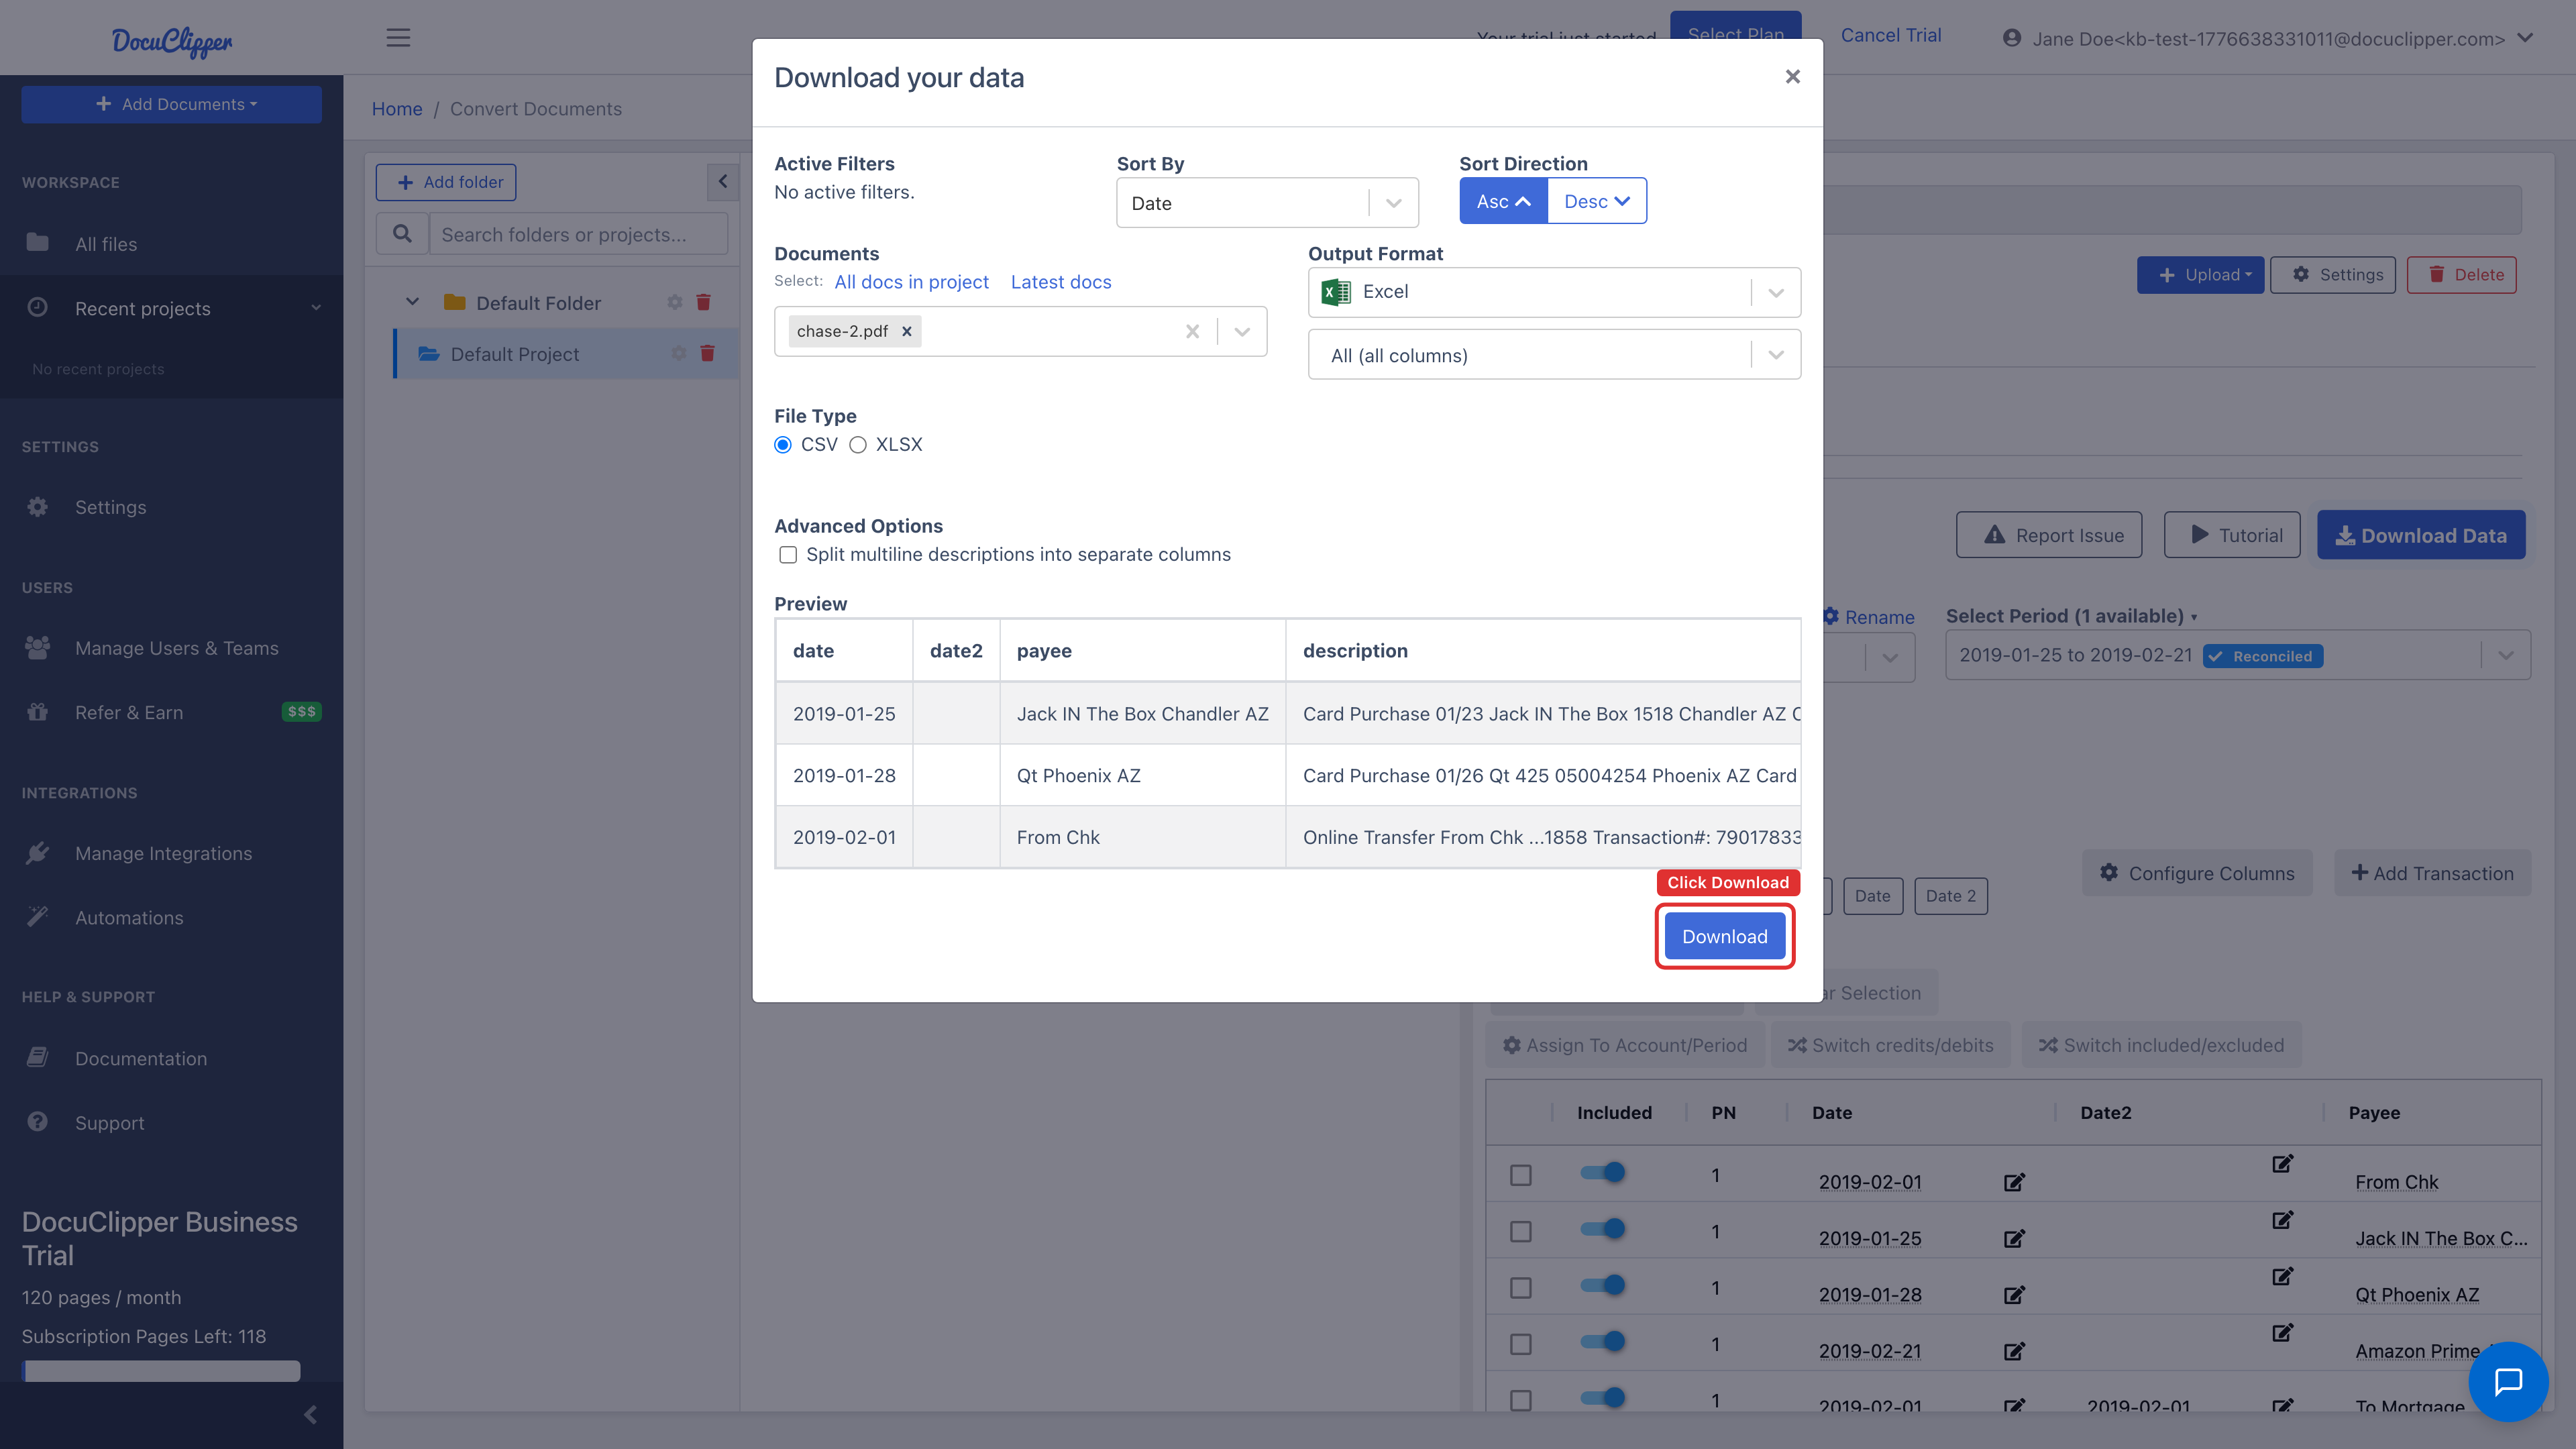
- Click Download Data (above the Summary of Reconciliation).
- Under Output Format, pick QBO Web Connect.
- Fill in the bank details:
- Bank: search for the issuing bank.
- Account type: Checking, Savings, or Credit Card.
- Routing number: optional, but including it helps QuickBooks match the account.
- Account number: optional.
- Currency: pick your QuickBooks org currency.
- Click Download QBO Web Connect.
Step 2: Import the file into QuickBooks Online
In QuickBooks Online, go to Banking (or Transactions → Banking in newer QBO layouts).
Select the account you want to import into (create it first if it doesn't exist) and click File Upload.
Click Browse.
Select the .qbo file you downloaded from DocuClipper, then click Open → Next.
QuickBooks shows a summary: filename, Account ID, Account Type, and date range. Double-check these before continuing.
Pick the target QuickBooks account and click Next.
Click Let's go! to finish the import.
Step 3: Review and categorize in QuickBooks
Go to the For Review tab. Your imported transactions appear there. The Description column comes from the Web Connect file; the Payee column is empty because QuickBooks hasn't matched them to vendor records yet. Click a transaction to categorize it.
Pick a Vendor and a Category (an expense or income account from your chart of accounts).
Click Add to post the transaction to the register. Repeat for each transaction, or use QuickBooks' bank rules to categorize them in bulk.
Undoing an import
If you imported the wrong file or want to start over, select all the imported transactions on the For Review tab.
Click Batch actions → Exclude Selected.
Switch to the Excluded tab.
Select all of them, then Batch actions → Delete.
The transactions are now fully removed from QuickBooks Online. You can re-import a clean file if needed.
Tips
- Duplicates are handled. QuickBooks Online dedupes on date + amount + description, so re-importing overlapping periods is safe.
- Use bank rules. Once you've categorized a vendor once, set up a bank rule in QBO so future imports are categorized automatically.
- Set a cutoff date. If your QBO account already has recent live-fed transactions, trim the DocuClipper export date range so you don't re-import the same period.
FAQs
How do I import a bank statement into QuickBooks Online?
Download a QBO Web Connect file from DocuClipper, then in QuickBooks Online go to Banking, pick your account, click File Upload, and select the .qbo file. The transactions land in the For Review tab.
Do I need to remap CSV columns for QuickBooks Online?
No. DocuClipper produces a native QBO Web Connect file, so there is no CSV mapping step inside QuickBooks.
Will QuickBooks Online create duplicate transactions if I re-import?
No. QuickBooks Online dedupes on date, amount, and description, so re-importing overlapping periods is safe.
Can I undo a QBO import in QuickBooks Online?
Yes. On the For Review tab, select the imported transactions, choose Batch actions and Exclude Selected, then go to the Excluded tab and delete them. The batch is fully removed and you can re-import a clean file.
Why is the Payee column empty after import?
QuickBooks Online does not auto-match vendors from the Web Connect description. Click each transaction to set a Vendor, or use bank rules so future imports are categorized automatically.
Should I fill in the routing and account numbers when exporting?
They are optional, but including them helps QuickBooks Online match the file to the correct account in your chart of accounts.